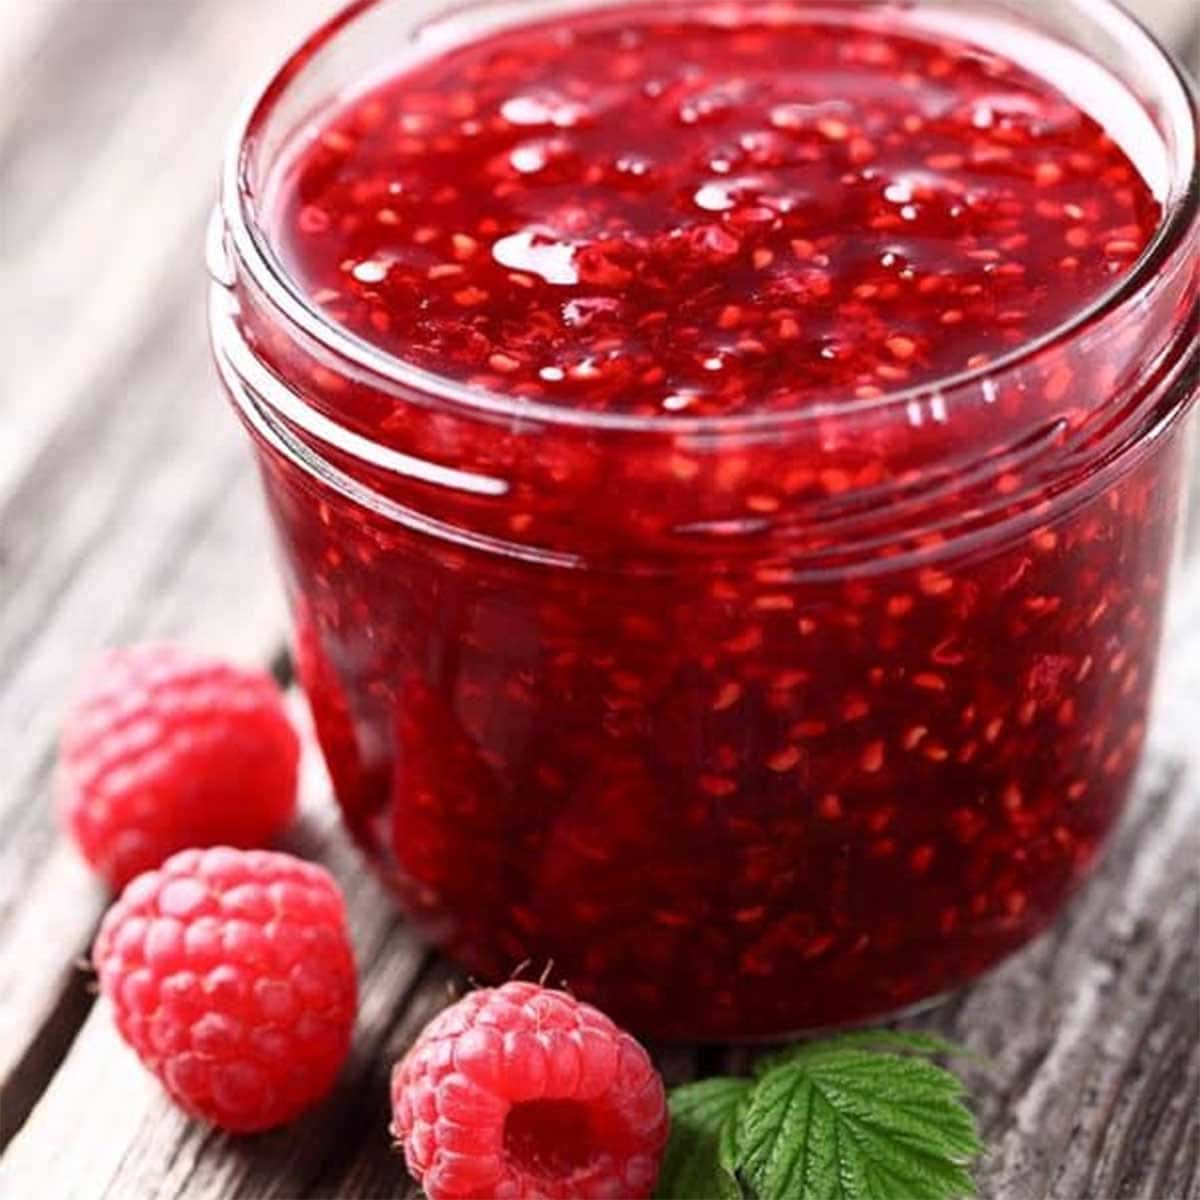
Whip Up 1 Pint Raspberry Jam in 10 Minutes: Honey & Lemon
Imagine a spoonful of vibrant, fresh raspberry jam, bursting with natural sweetness and a hint of zesty lemon, spreading effortlessly across your morning toast. Now, imagine achieving this culinary delight in just 10 minutes of active cooking time. Sound too good to be true? Not with our incredible
1 pint 10 minute raspberry jam recipe, a game-changer for anyone who loves homemade goodness without the fuss.
In a world where store-bought jams often skimp on real fruit (some commercial varieties contain as little as 45% fruit!) and load up on refined sugars, this recipe stands out. It's a testament to the power of simplicity, utilizing just three natural ingredients – fresh raspberries, honey, and lemon juice – to create a healthy, delectable spread that you'll feel good about serving yourself and your family. Forget the complicated canning processes, the pectin packets, and the sugar crashes. This is sweet summer magic, bottled in minutes.
Why You Need This 10-Minute Raspberry Jam in Your Life
This isn't just another jam recipe; it's a solution for busy lives, small harvests, and a desire for wholesome, natural foods. The beauty of this
10-minute raspberry jam lies in its unparalleled ease and the quality of its ingredients.
Say Goodbye to Store-Bought Compromises
Many of us grew up on store-bought jams, but have you ever really looked at the ingredient list? Often, they're packed with high-fructose corn syrup, artificial colors, and preservatives, with fruit taking a backseat. Our honey-sweetened, lemon-kissed raspberry jam offers a refreshing alternative. By using honey instead of refined sugar, you’re opting for a natural sweetener with its own beneficial properties, and the vibrant flavor of fresh raspberries truly shines through. Plus, there's no need for added pectin, as the natural pectin in the raspberries, combined with the lemon juice and a quick boil, provides all the thickening power you need. It’s a healthier choice that doesn’t compromise on taste or texture.
The Beauty of Small Batch Preserving
One of the greatest advantages of this recipe is its modest yield. It calls for just 1 pint of fresh raspberries – approximately 2 cups. This "small batch" approach is perfect for several scenarios:
*
Farmers Market Finds: If you spot a great deal on a pint of berries, you don't have to commit to an all-day canning session.
*
Garden Harvests: Raspberries ripen gradually. You might pick a pint here and a pint there, rather than a massive haul all at once. This recipe allows you to preserve those smaller amounts immediately.
*
Beginner Friendly: For those new to jam-making, starting with a small batch is far less intimidating than tackling multiple jars.
*
Variety: Makes it easy to experiment with different fruit combinations or flavors without having an excess of one kind.
Instead of needing eight cups of berries, which can be hard to come by unless you're a serious berry picker, this
1 pint 10 minute raspberry jam recipe embraces the casual, everyday nature of fresh fruit. It’s ideal for when you want to quickly whip up something delicious without overwhelming your kitchen or your schedule. You can learn more about making small batch jams that are perfect for your garden's yield or market finds in our article on
Make Easy 1 Pint Raspberry Jam: Perfect for Small Harvests, 10 Mins!
Gather Your Simple Ingredients
The magic of this
1 pint 10 minute raspberry jam truly lies in its minimal, yet impactful, ingredient list. Each component plays a crucial role in delivering a perfectly balanced, flavorful jam.
Fresh Raspberries: The Star
You'll need 1 pint of fresh raspberries, which usually equates to about 2 cups. The fresher, the better! Look for bright, plump, firm berries with no signs of mold or bruising. Ripe raspberries will naturally be sweeter and have more vibrant color, contributing to a superior jam. While fresh is ideal, you *can* use frozen raspberries in a pinch. If using frozen, there's no need to thaw them first; simply add them to the saucepan as directed, understanding that it might take an extra minute or two for them to break down and for the mixture to come to a boil.
Honey: Natural Sweetness
Our recipe calls for 1/4 cup of honey. This amount provides ample sweetness without overpowering the natural tartness of the raspberries. Honey is a wonderful natural sweetener, offering a complex flavor profile that complements the fruit beautifully. It also contributes to the jam's lovely texture. If you're out of honey or prefer a vegan option, you could substitute with 1/2 cup of granulated sugar, though we highly recommend trying it with honey first for its unique taste and healthier profile.
Lemon Juice: The Zesty Helper
A single tablespoon of fresh lemon juice is essential. Lemon juice isn't just for brightening flavors; it's a crucial ingredient in jam-making, even in pectin-free recipes like this one. The acid in lemon juice helps to extract natural pectin from the fruit and facilitates the gelling process, ensuring your jam sets to the right consistency. It also adds a wonderful, subtle tang that perfectly balances the sweetness of the raspberries and honey. Don't skip it!
Your Quick Guide to Making 1 Pint 10-Minute Raspberry Jam
Making this jam is incredibly straightforward, proving that delicious homemade preserves don't require hours in the kitchen. Here's how to whip up your
1 pint 10 minute raspberry jam:
The Easy Process
1.
Combine Ingredients: Pour your 1 pint of fresh raspberries (approximately 2 cups), 1/4 cup honey, and 1 tablespoon lemon juice directly into a medium saucepan. Give them a good stir to combine everything evenly.
2.
Bring to a Boil: Place the saucepan over medium-high heat. Bring the mixture to a rolling boil, stirring occasionally to prevent sticking and to help the raspberries break down.
3.
Simmer to Perfection: Once boiling, reduce the heat to medium-low and let the mixture simmer. Continue to stir regularly, ensuring the jam doesn't stick to the bottom of the pan. This simmering phase is where the magic happens! The raspberries will continue to break down, releasing their juices, and the mixture will begin to thicken. Simmer for about 10 minutes, or until it reaches your desired jam consistency.
4.
Cool and Store: Carefully remove the saucepan from the heat. The jam will thicken further as it cools. Allow it to cool completely before transferring it to a clean jar or airtight container.
Pro Tips for Perfect Consistency
*
Stirring is Key: Don't just set it and forget it! Regular stirring prevents scorching and helps you monitor the jam's texture.
*
Checking for Doneness: The "jam consistency" can be subjective. For a quick check, dip a cold spoon into the jam, lift it, and watch how it drips. If it coats the spoon and falls in thick drops rather than a thin stream, it's getting there. For a more precise test, place a small plate in the freezer before you start cooking. When you think the jam is ready, spoon a tiny bit onto the cold plate. Let it sit for 30 seconds, then push it with your finger. If it wrinkles, it's ready! If it's still too thin after 10 minutes, you can raise the heat slightly and continue to simmer for a few more minutes, stirring constantly, until it thickens to your liking.
*
Seed Preference: This recipe results in jam with raspberry seeds, which many people enjoy for their texture. If you prefer a seedless jam, simply press the warm mixture through a fine-mesh sieve after cooking, before jarring.
Storing Your Homemade Raspberry Jam
Because this
1 pint 10 minute raspberry jam is a small batch, quick-cook recipe without traditional canning methods, its storage differs from shelf-stable jams.
Refrigerate for Freshness
Once your jam has cooled completely, transfer it to a clean, airtight jar or container. Store it in the refrigerator, where it will keep beautifully for up to 2-3 weeks. It's perfect for daily use on toast, stirred into yogurt, dolloped on pancakes, or paired with cheese and crackers. For a deeper dive into making healthy, pectin-free jam, check out
Healthy 10-Minute Raspberry Jam: No Pectin, No Sugar, Just 1 Pint.
Freeze for Longer Enjoyment
One of the best ways to extend the life of your homemade jam is by freezing it! After the jam has cooled, place it in freezer-safe containers, leaving a little headspace (about 1/2 inch) to allow for expansion. It will last in the freezer for up to 6 months to a year. When you're ready to use it, simply thaw it in the refrigerator overnight, and it will be as fresh and delicious as the day you made it. This makes it an ideal freezer jam!
Beyond the Basics: FAQs & Flavor Twists
Even with a recipe as simple as this
1 pint 10 minute raspberry jam, a few common questions arise, and there's always room for creative experimentation.
Common Questions Answered
*
Can I double the recipe? While technically possible, increasing the batch size can affect the cooking time and consistency. Larger batches take longer to reduce and thicken, potentially extending your "10-minute" cook time significantly. For best results and to maintain the quick cooking, it's recommended to make multiple small batches rather than one large one.
*
What if my jam is too thin? Don't panic! Simply return it to the saucepan and simmer for a few more minutes over medium heat, stirring continuously, until it reaches your desired consistency. The key is to evaporate more water.
*
What if my jam is too thick? If it's too thick, you can thin it out slightly by stirring in a tablespoon or two of hot water or fruit juice until it reaches the desired consistency. This is best done while the jam is still warm.
*
Can I use other berries? Absolutely! This basic method works wonderfully for many other berries like blueberries, blackberries, or even chopped strawberries. Just be aware that different fruits have varying levels of natural pectin, so thickening times might vary slightly.
Elevate Your Jam: Creative Variations
While this classic honey and lemon raspberry jam is perfection on its own, don't hesitate to get creative:
*
A Hint of Vanilla: Add 1/2 teaspoon of vanilla extract at the end of cooking for a comforting aroma and flavor.
*
Spice it Up: A tiny pinch of cardamom or a whisper of cinnamon can add a warm, exotic note.
*
Herbal Infusion: For a sophisticated twist, simmer a sprig of fresh mint or thyme with the jam, removing it before jarring.
*
Zest Appeal: Grate a little extra lemon zest into the jam during the last minute of cooking for an even brighter, more aromatic citrus punch.
The Sweetest 10 Minutes You'll Spend
From the vibrant color to the irresistible flavor, this
1 pint 10 minute raspberry jam with honey and lemon is a kitchen revelation. It demolishes the myth that homemade jam is a labor-intensive affair, proving that simple ingredients and minimal effort can yield extraordinary results. Whether you're a seasoned jam-maker or a complete novice, this recipe is your ticket to enjoying fresh, wholesome, and delicious raspberry jam year-round. So grab a pint of raspberries, and in just 10 minutes, you'll have created a spread that tastes like pure summer joy.